
Last updated November 2, 2026
 Sweep & inspection
 Caps & crowns
 Flue relining
 Masonry repair
 Gas fireplace service
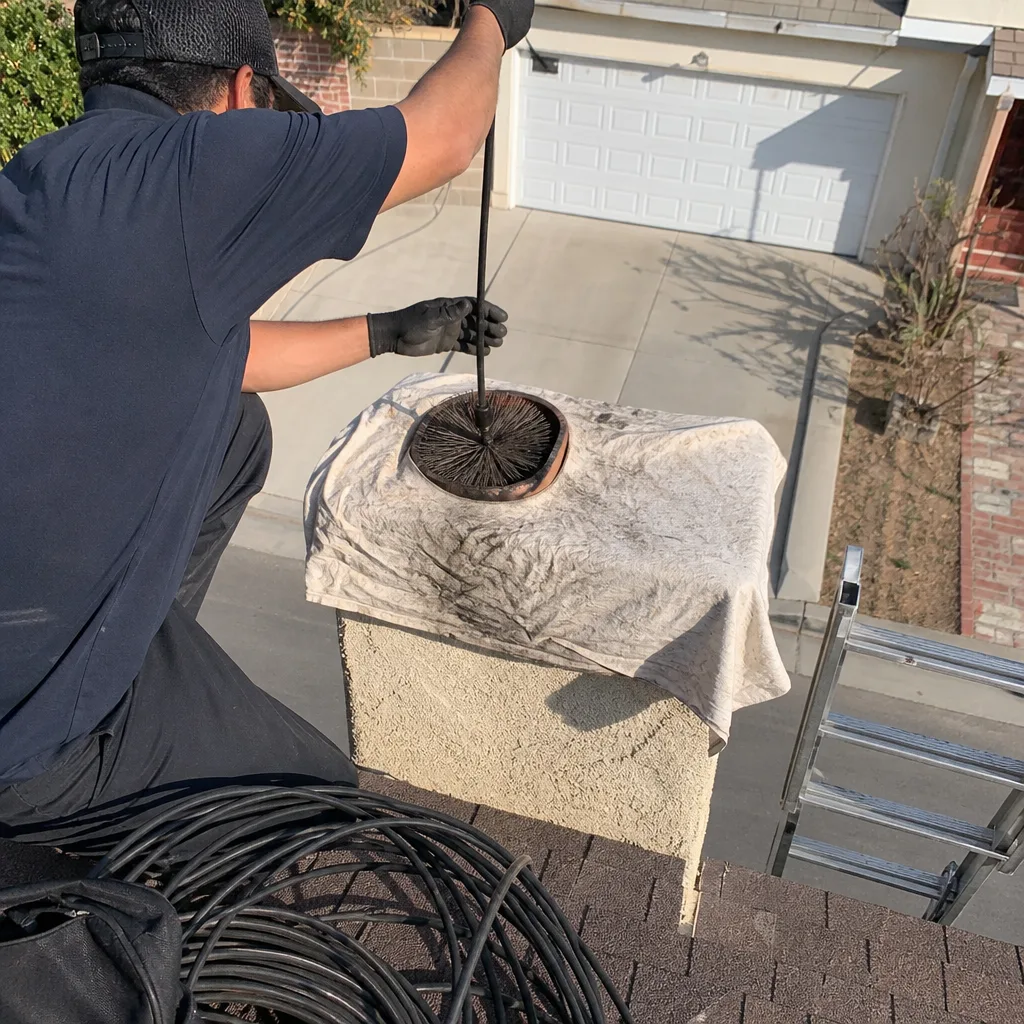
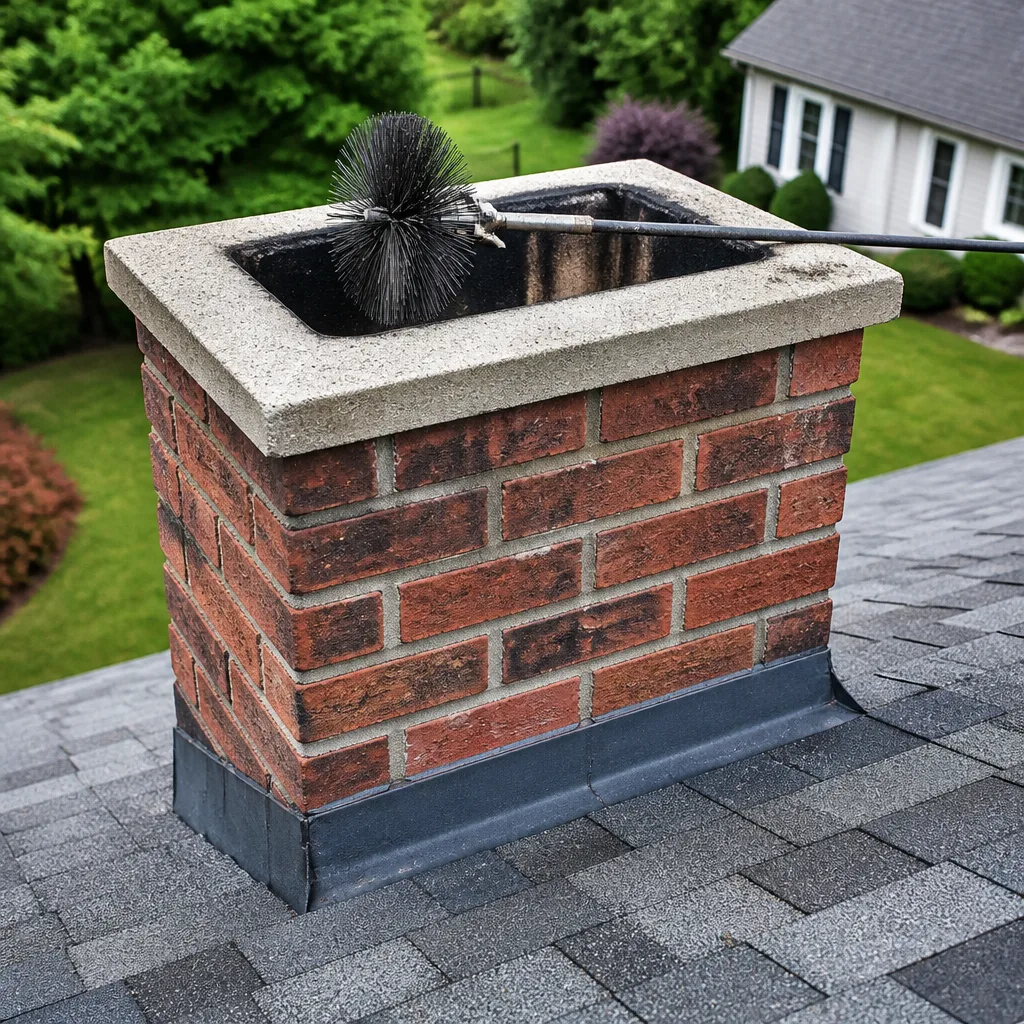
Level 1 sweep and inspection to the NFPA 211 annual standard - flue, crown, cap, and flashing checked and photographed
Chimney sweep logs do not sweep chimneys. They loosen some creosote - which then falls where a brush and vacuum still have to collect it.
Chimney Sweep Maintenance Checklist for Sylmar Homeowners
Chimney crowns crack in freeze-thaw cycles in the Midwest. In Sylmar, they crack because triple-digit summer heat bakes masonry that never fully cures, and the daily temperature swing between a 105-degree afternoon and a 58-degree night works the mortar joints like a slow-motion jackhammer. Most generic chimney checklists were written for climates with snow, ice, and hard freezes. They miss the failure points that actually show up on Sylmar chimneys: thermal stress cracking, Santa Ana wind damage, dry-air mortar erosion, and post-earthquake joint separation. This guide is a component-by-component checklist built specifically for what fails here, not what fails in Milwaukee. You’ll learn which parts of your chimney you can inspect from the ground, which require a camera, and how to catch deterioration before it becomes a structural repair.
Styles & brands we work with
- Sweep & inspection
- Caps & crowns
- Flue relining
- Masonry repair
- Gas fireplace service
Quick Answer
A Sylmar chimney maintenance checklist should cover seven components in priority order: cap, crown, flashing, liner, damper, firebox mortar joints, and smoke shelf. Homeowners can visually inspect the cap, crown, flashing, and damper from ground level or with a ladder, but the liner and smoke shelf require a camera inspection by a technician. Run through this checklist twice a year: once after Santa Ana wind season and once before the first rain, and after any earthquake you can feel inside the house.
Table of Contents
- The Chimney Cap: Your First Line of Defense Against Sylmar’s Wildlife and Ember Risk
- The Crown: Where Sylmar’s Heat Does the Most Damage
- Flashing: The Leak Point Most Homeowners Never Check
- The Flue Liner: What You Can’t See Is What Hurts You
- The Damper: Small Part, Big Energy Loss
- Firebox Mortar Joints and Smoke Shelf: The Firebox Interior
- Documenting Findings Year Over Year: Your Maintenance Log
- Maintenance Intervals Based on Usage, Not Just Calendar
- Common Mistakes to Avoid
- When to Call a Professional
- Frequently Asked Questions
- The Bottom Line
The Chimney Cap: Your First Line of Defense Against Sylmar’s Wildlife and Ember Risk
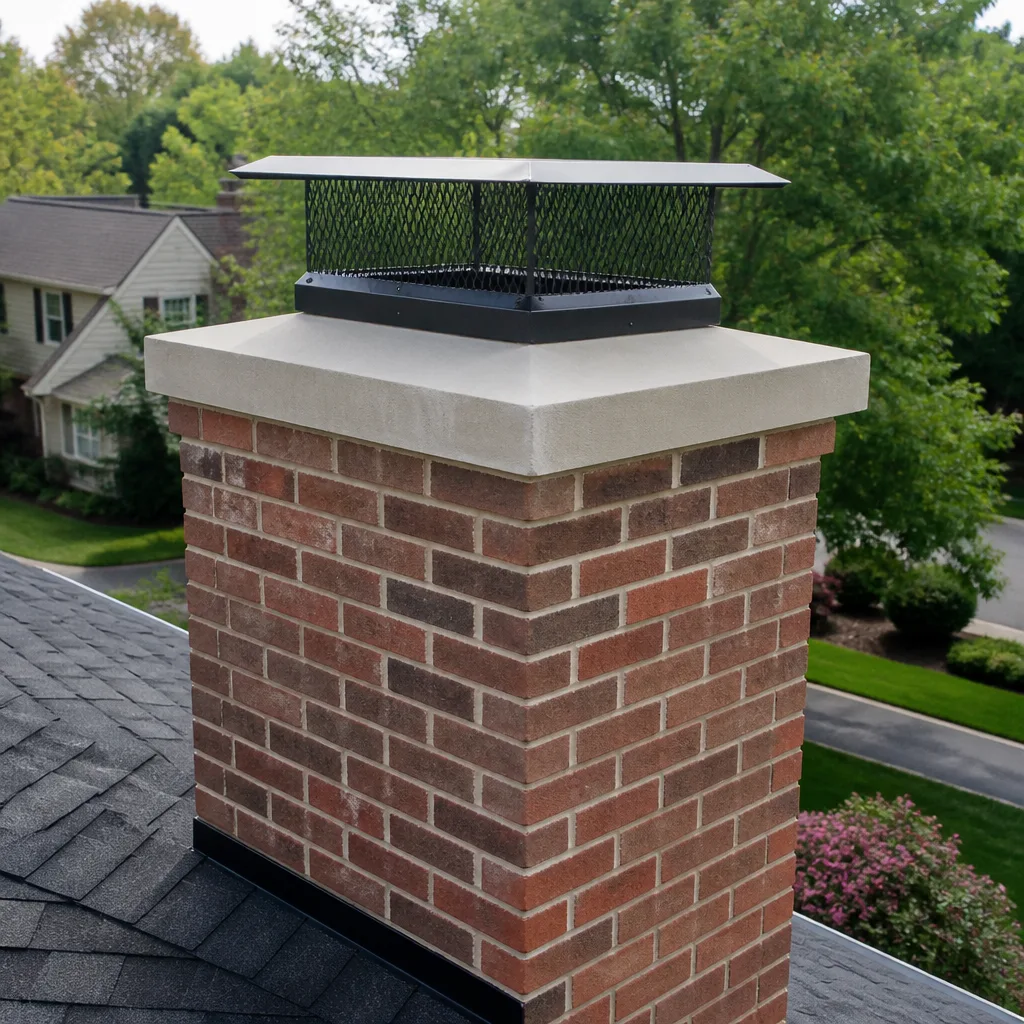
The chimney cap is the metal or masonry cover at the very top of the flue. It keeps out rain, debris, and animals, and in a region like Sylmar where dry brush and Santa Ana winds create serious ember-carry potential during fire season, a properly fitted cap with a spark arrestor screen is not optional. It’s a critical fire-safety component. If your cap is missing, damaged, or the mesh screen is torn, you have an open channel for embers to enter the flue and potentially ignite creosote deposits or escape into the attic chase.
What to Check
- Cap presence: Is there actually a cap on your flue? A surprising number of Sylmar homes either never had one or lost it to wind without noticing.
- Mesh condition: The spark arrestor mesh should be intact. A half-inch hole is big enough for a bird or bat to enter, and small tears expand quickly in wind.
- Attachment: Cap should be securely fastened. After a strong Santa Ana event, caps can loosen or shift even if they don’t blow off entirely.
- Corrosion: Sylmar’s dry climate is gentler than coastal air, but caps still rust where precipitation collects. Look for flaking metal or visible thinning.
Pass/Fail Criteria
- Pass: Cap is present, mesh has no holes larger than 3/8 inch, no signs of shifting or corrosion.
- Fail: Any rust-through, loose attachment, missing cap, or torn mesh. Replace or repair before your next burn.
In our experience, cap damage is the single most common issue we document during sweeps in Sylmar. The wind here is a force of nature, and caps take the brunt of it. A replacement cap is a small investment compared to the damage an exposed flue can cause in one rainy season.
The Crown: Where Sylmar’s Heat Does the Most Damage
The chimney crown is the concrete or mortar slab that caps the masonry structure, sealing the top of the chimney around the flue opening. Here’s the thing about Sylmar crowns: they don’t fail from freeze-thaw cycles the way crowns do in colder climates. They fail from thermal expansion. A crown poured with a standard mortar mix (which is what many builders used in Sylmar homes from the 1950s through the 1990s) contains too much water-retentive material and not enough aggregate. When summer temperatures push 110 degrees, that slab expands. At night, it contracts. Over 30 or 40 years of those daily cycles, the crown develops hairline cracks that widen into channels.
What Actually Happens to a Failed Crown
Water enters the cracked crown and saturates the masonry below. Over time, that water migrates into the flue liner and the smoke chamber. When you burn a fire, the moisture turns to steam inside the masonry, accelerating spalling, which is the flaking and crumbling of brick and mortar faces. In Sylmar, dry heat plus a cracked crown means the masonry dries out unevenly, which makes the cracking worse. It’s a compounding failure.
What to Check From the Ground
- Visible chipping, flaking, or missing chunks on the top surface of the chimney.
- White staining (efflorescence) running down the brick below the crown. This is salt and mineral deposit evidence that water has already penetrated.
- A visible gap between the crown and the flue tile. This is the classic entry point for water damage.
What a Technician Checks
A crown should overhang the chimney masonry by at least 2 inches on all sides, a detail called a drip edge. Many Sylmar chimneys were built with crowns flush to the brick, which means water runs straight down the face of the chimney instead of dripping away. Crown repair or replacement is not a DIY project, but you can visually flag the suspicion from ground level and then call for Chimney Sweep services.
Flashing: The Leak Point Most Homeowners Never Check
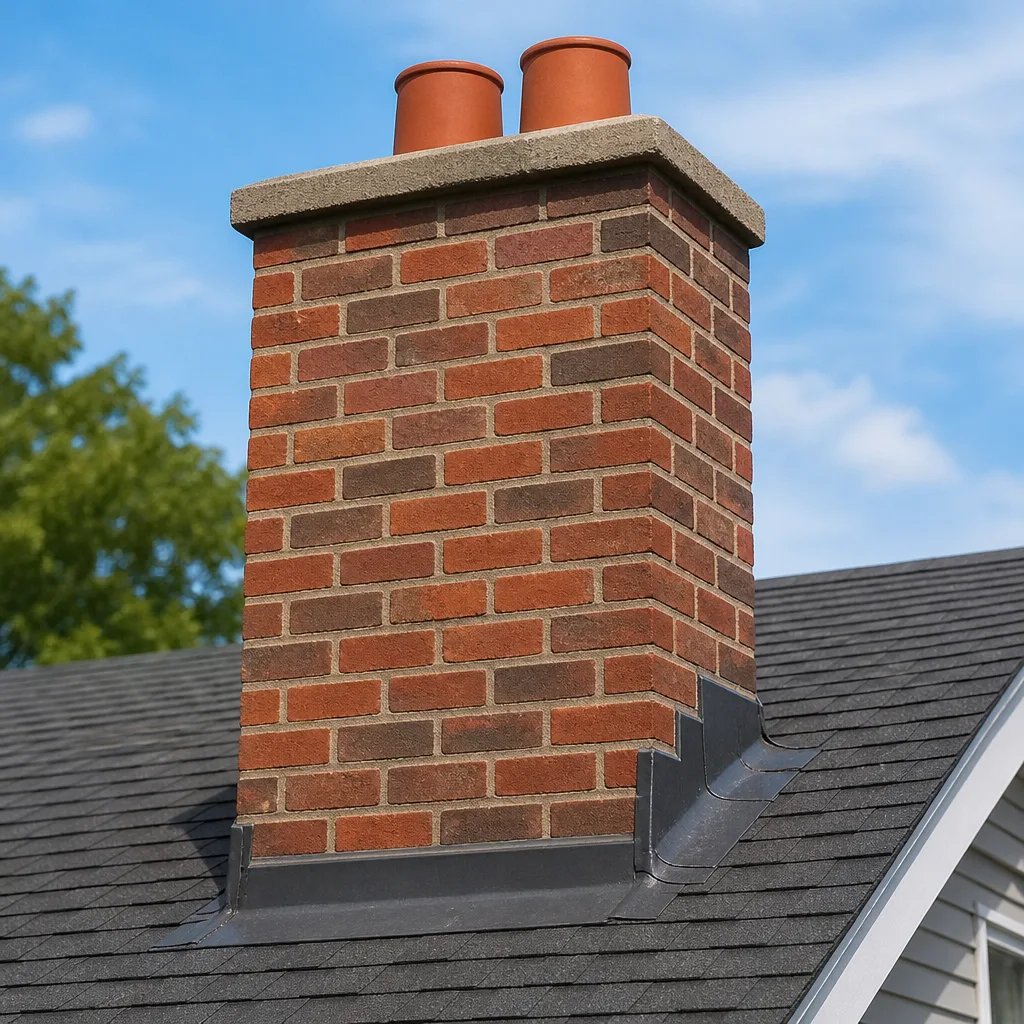
Flashing is the metal barrier where the chimney meets the roofline. It’s step flashing (interwoven with shingles), counter flashing (embedded in the masonry), and the apron or cricket on the uphill side. In Sylmar, flashing fails in two primary ways: thermal movement of the metal against the masonry (the chimney and the roof expand at different rates in our heat), and wind-driven uplift from Santa Ana events. When flashing lifts or separates, water runs down the gap and into the roof deck, the attic, or the ceiling below.
Ground-Level Visual Checks
- Look for gaps between the counter flashing and the chimney brick. If you can see caulk doing the job instead of the metal tucking into a mortar joint, the installation was questionable.
- Check for rust, especially at the corners where step flashing meets counter flashing.
- If you can see roofing tar or silicone slathered around the base of the chimney, someone tried a quick fix at some point. Those patches fail within a season or two in Sylmar’s heat.
Why Pre-Rain-Season Flashing Checks Matter Here
Sylmar gets most of its annual rainfall in a compressed window between December and March. A flashing failure that leaks a small amount in a light rain could become a major water intrusion during a heavy February storm. The best time to inspect flashing is October or early November, before the first significant rain. If you catch a gap then, the repair is typically straightforward. If you catch it in February when water is already running through the ceiling, the cost is dramatically higher.
One note: if your chimney is stucco-framed (common in some Sylmar neighborhoods built in the 1980s and later), the flashing failure mode is different. Stucco can hide water damage for years, because the evidence doesn’t show on the exterior brick the way it does on masonry. These chimneys need a more careful inspection of the underside of the roof deck in the attic.
The Flue Liner: What You Can’t See Is What Hurts You
The flue liner is the clay, metal, or cast-in-place material inside the chimney that contains the heat and combustion gases from your fire and directs them safely to the exterior. In older Sylmar homes, the liner is almost always clay tile. Clay tiles crack from thermal stress, from chimney fires, and very commonly here, from seismic movement. A cracked liner is a genuine safety hazard: it allows hot gases and embers to reach the surrounding masonry and, in some cases, combustible framing.
Why You Can’t Inspect This Yourself
You can’t see the full liner from the top of the chimney with the naked eye, and you definitely can’t see it from the bottom. A proper liner inspection requires a chimney camera (a video scan) that travels the full length of the flue. The camera shows cracks, gaps, offset tiles, missing mortar, and buildup that normal sweeping tools cannot remove.
Sylmar-Specific Risk: Post-Earthquake Liner Checks
The San Fernando Valley sits in one of the most seismically active regions in California. In our work across Sylmar, we regularly find liner cracks in homes that experienced shaking from events like the 1994 Northridge earthquake and subsequent smaller events. A clay tile liner that shifted during a quake may sit quietly for years, but it becomes a slow leak point for heat and gases. If you’ve felt any earthquake of magnitude 4.0 or greater in your home, a liner camera check is a reasonable precaution, even if your chimney seems to be venting fine.
Repair Options When the Liner Has Failed
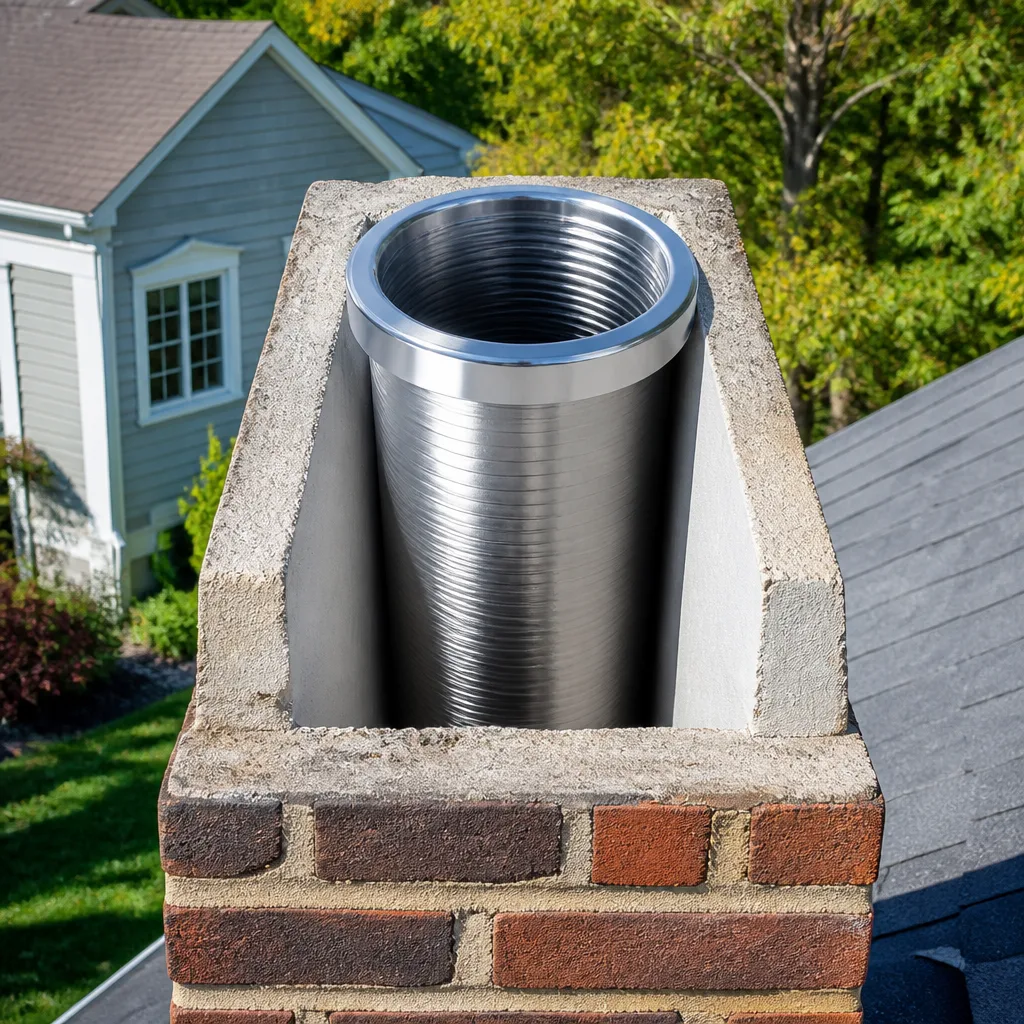
If the liner is cracked but the chimney structure is sound, there are repair paths that don’t require demolition. We work with DuraFlex flexible stainless liner systems for full relining, and HeatShield for resurfacing deteriorating flue liners without tearing down the chimney. HeatShield application, in particular, can restore a damaged clay liner to safe condition without the cost or mess of full replacement. These are professional-grade materials, not hardware-store substitutes, and they’re products most sweep-only companies can’t offer.
The Damper: Small Part, Big Energy Loss
The damper is the metal plate inside the throat of the chimney, just above the firebox, that opens and closes to control airflow. When closed, it should block the chimney from your living space. When open, it should allow smoke and gases to exit. A damper that’s rusted open, warped closed, or missing entirely is a common finding in Sylmar inspections, especially in chimneys that haven’t been used in years or that were operated without a cap for a period.
What to Check
- Look up into the firebox with a flashlight. Can you see the damper plate?
- Test the handle or lever. Does it move freely, or is it stuck?
- With the damper closed, can you see daylight around the edges? Small gaps are normal. Large gaps mean the metal has warped.
- If the damper is rusted through or the handle has snapped, mark it for replacement.
Why It Matters in Sylmar Specifically
A damper that doesn’t seal properly allows your conditioned air to escape up the flue all summer long. In Sylmar’s heat, that’s not just an energy-efficiency issue, it’s a real cost issue. During an August heat wave, your air conditioner is already working hard. An open or poorly-sealed damper is essentially a hole in your ceiling that your AC is fighting against. On the flip side, during the shoulder months when you’re not running the AC, the reverse stack effect pulls air down the chimney and into the home, sometimes carrying unpleasant odors from the flue.
Replacement dampers come in different configurations, and the right choice depends on your fireplace type, flue dimensions, and how you use the firebox. It’s a repair we handle as part of our full-system service, not a band-aid fix.
Firebox Mortar Joints and Smoke Shelf: The Firebox Interior
The firebox is the brick-lined chamber where the fire actually burns. The mortar joints between firebox bricks take direct flame exposure, and in Sylmar’s climate, they erode from both heat and the dry-air contraction of the masonry. The smoke shelf is the flat area just above the damper inside the smoke chamber, and it’s designed to catch falling debris and direct downdrafts back up the flue. It’s also a collection point for creosote, soot, and animal debris.
Firebox Joint Check
- Run your finger along the mortar joints between firebox bricks. If the mortar is soft, crumbly, or falling out in chunks, the firebox needs repointing.
- Look for gaps wider than the edge of a quarter. These allow heat to reach the firebox’s outer shell and potentially the framing behind it.
- Check for spalling bricks, the flaking or breaking of brick faces from repeated thermal cycling.
What We See in Sylmar Fireboxes
In homes where the fireplace was used heavily over decades, the firebox brick is often cracked but still functional. In homes where the fireplace sat unused for years, the mortar is often the first thing to degrade, because it dries out without any heat cycling to help it season. Both failure patterns are repairable. The key is catching the mortar deterioration before it allows heat to reach materials that were never designed to handle it.
The Smoke Shelf
The smoke shelf is not inspectable from the ground. You can’t even see it clearly with a mirror from the firebox in most cases. A technician checking the smoke shelf looks for debris accumulation that can restrict airflow and, in some cases, hold embers. If your chimney has been uncapped for any period, there’s a good chance something has fallen down onto the smoke shelf. During a sweep, that debris comes out.
Documenting Findings Year Over Year: Your Maintenance Log
The single most useful habit a Sylmar homeowner can develop is not just running through this checklist, but tracking what you find each time. Chimney deterioration is progressive. A hairline crack this year becomes a gap next year. A small rust spot on the cap becomes a hole. If you document findings with date-stamped photos, you build a record that helps you distinguish normal wear from acceleration.
How to Build a Maintenance Log
- Create a simple folder on your phone or computer for chimney records.
- Each season, take photos from the same three vantage points: street level looking at the chimney from the front of the house, backyard level looking at the chimney from the side, and inside the firebox looking up.
- Note the date, any weather events since the last check (earthquakes, Santa Ana wind events, heavy rain), and what you observe.
- If a technician has provided a camera inspection or written report, keep the report and note any changes the technician flagged as “monitor” items.
This log serves two purposes. First, it protects you from being told you need work you don’t actually need. When a tech says, “Your crown is cracked and it’s getting worse,” you can look at your own photos from 18 months ago and see whether that’s true. Second, it gives you early warning. A crack that’s stable year over year is a different risk profile than a crack that visibly widened over one windy season.
Maintenance Intervals Based on Usage, Not Just Calendar
The standard advice is “sweep your chimney once a year,” and that’s a fine baseline. But it’s not precise. The right interval depends on how often you burn, what you burn, and what kind of appliance you have. Here’s a more useful breakdown for Sylmar households.
| Usage Pattern | Recommended Sweep Interval | Notes |
|---|---|---|
| Occasional use (under 20 fires per winter season) | Every 2 years | Most Sylmar homes fall here. Burn only seasoned hardwood. |
| Regular use (2-3 fires per week during winter months) | Annually | Creosote accumulates faster with frequent fires. |
| Heavy use (daily fires, or burning softwood like pine) | Every 6 months | Softwood produces higher creosote volume. Consider a mid-season check. |
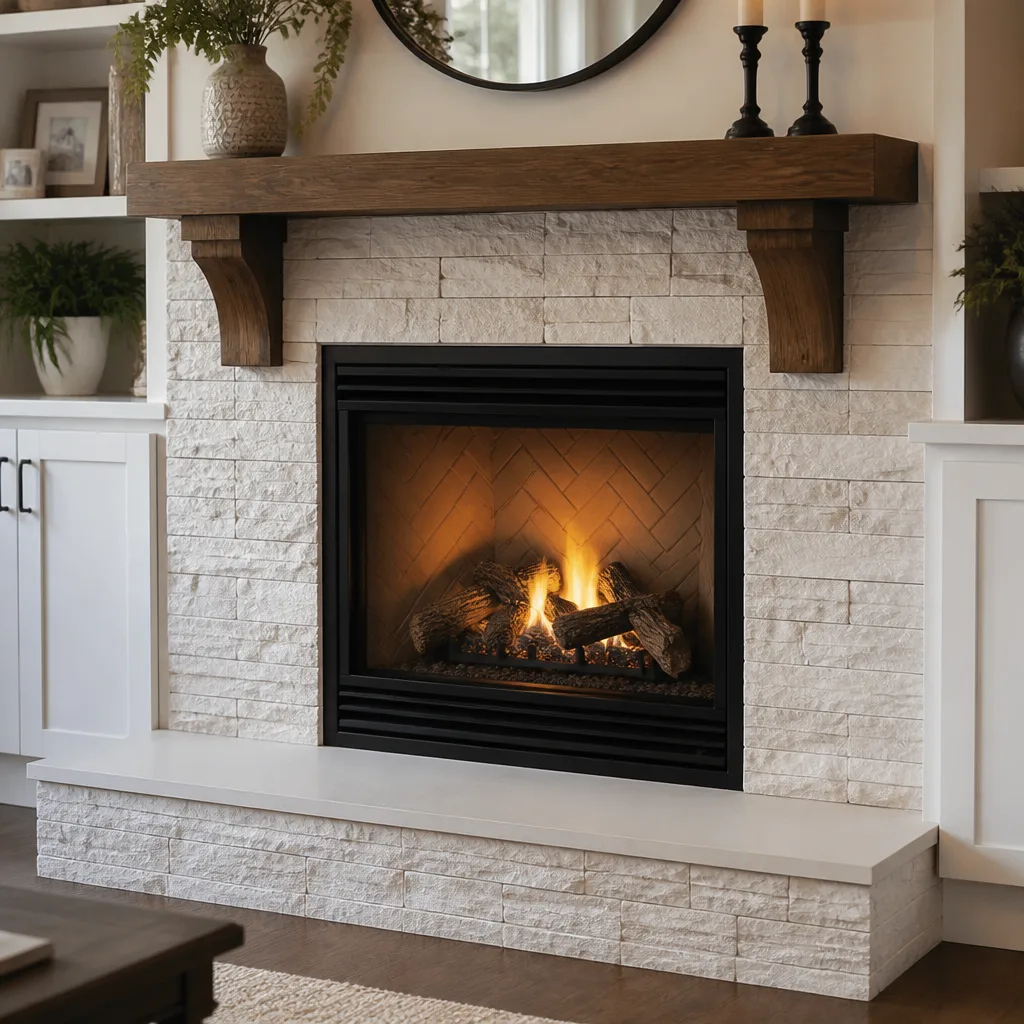
| Gas fireplace or gas insert | Every 2-3 years for inspection | Gas produces no creosote, but venting and connections still need checking. |
| Wood stove or insert | Annually at minimum | Higher firebox temperatures mean more thermal cycling on the liner. |
Beyond the sweep interval, run the exterior visual checklist (cap, crown, flashing) twice per year: once in October or early November before rain season, and once in April or May after Santa Ana wind season has wound down. Run the full checklist including a camera inspection after any earthquake you can feel, after any chimney fire, or after any period where the chimney was uncapped. See more guides & resources for seasonal maintenance tips.
Common Mistakes to Avoid
- Assuming a cap is optional. In Sylmar, where wildlife and wind-driven embers are real, a missing cap is a compounding liability. Replace it sooner, not later.
- Waiting for visible water damage inside the house to check flashing. By the time water stains show on the ceiling, the flashing has been leaking for a while. Check flashing before the rainy season starts.
- Skipping the liner check because the chimney “draws fine.” A cracked liner can still vent adequately while slowly allowing heat to reach combustible materials. The only way to know is a camera scan.
- Burning unseasoned wood or construction scraps to save money. Green wood and treated lumber produce more creosote and burn at inconsistent temperatures, accelerating liner degradation. Season your firewood for at least 12 months in Sylmar’s dry climate.
- Trusting a caulk patch on the crown or flashing. Silicone and roofing tar fail quickly under UV and thermal cycling. These are mechanical failures that need mechanical fixes.
- Not checking the damper after a long idle period. Rust and warping happen while the chimney sits unused, especially if the cap has been missing. Test the damper before your first fire of the season.
- Confusing a sweep with an inspection. A brush removes creosote. It does not assess the crown, flashing, liner integrity, or damper seal. If your service doesn’t include a visual and camera inspection, it’s not a maintenance check.
When to Call a Professional
Call a chimney technician if you observe any of the following: visible cracks in the crown that have widened over time, flashing that is lifting or rusting through, evidence of water staining on the ceiling near the chimney, a damper that sticks or won’t seal, mortar joints in the firebox that are crumbling, or any sign of animal activity in the flue. If you’ve experienced an earthquake that you felt inside the home, a camera-based liner check is prudent. If you’ve never had a camera inspection and you’ve owned the home for longer than two seasons, it’s time to establish a baseline. Chimney Sweep Sylmar offers free estimates in Sylmar and can assess all seven components of this checklist in a single visit. Call (833) 620-0634.
Frequently Asked Questions
It depends on usage, not just the calendar. If you burn under 20 fires per winter season, every two years is typically sufficient. If you burn 2-3 times per week, sweep annually. If you burn daily or burn softwood, sweep every six months. Gas appliances don’t produce creosote but still need venting and connection checks every two to three years.
Yes, especially in Sylmar, where seismic activity is part of the region’s reality. A clay tile liner can shift or crack during ground movement even if the house shows no visible damage. The only way to see liner displacement is with a camera scan. If you felt the earthquake inside your home, a liner check is a reasonable precaution.
A standard chimney sweep in Sylmar typically runs between $150 and $300 depending on the flue size, level of creosote buildup, and whether the chimney has been maintained regularly. If a camera inspection is added, expect an additional $75 to $150. If the sweep uncovers structural issues like a cracked crown or damaged liner, those repairs are priced separately. Read Choosing the Right Chimney Cleaning Brand: A Buyer’s Guide for Sylmar to understand your options. Call (833) 620-0634 for an exact quote, estimates are free.
No. You can see the first few feet of the liner from the top using a flashlight, but the full length of the flue is not visible to the naked eye from any single vantage point. Cracks, offset tiles, and hidden gaps only show up on a camera scan. This is the single most important inspection step that homeowners skip.
Look for the specific signs: chipping or missing chunks on the top surface, white staining (efflorescence) running down the brick below the crown, or a visible gap between the crown and the flue tile. If the crown is flush with the brick instead of overhanging by 2 inches, it was never built correctly, and water is running down the masonry face. Any of these signs warrants a professional evaluation.
A cracked liner is a genuine safety issue. The liner’s job is to contain heat and combustion gases. When it cracks, those gases and any burning embers can reach the surrounding masonry, and in some configurations, combustible framing. A chimney fire that would have been contained by a sound liner can become a structure fire with a cracked one. This is not an area to defer.
The Bottom Line
A Sylmar chimney maintenance checklist needs to account for what actually happens to chimneys here: thermal expansion cracks in the crown, wind-damaged caps, flashing that separates under Santa Ana gusts, and liners that shift during seismic activity. The checklist is not just a sweep reminder. It’s a component-level review of the seven parts of the chimney that fail at different rates and in different ways than in colder climates. Run the exterior checks twice a year, document everything you find with photos, get a camera inspection of the liner if you’ve never had one or after any earthquake, and don’t trust caulk patches to solve structural problems. If you catch the crown crack before it widens, the flashing gap before the rain starts, or the liner shift before the first fire of the season, you’ve saved yourself a much larger repair bill. If you want a professional assessment of all seven components in one visit, Chimney Sweep Sylmar home services are available for Chimney Sweep in Sylmar, Chimney Repair in Sylmar, and Dryer Vent Cleaning in Sylmar. Call (833) 620-0634 for a free estimate.
Written by the team at Chimney Sweep Sylmar, serving Sylmar since 2013.
See the difference
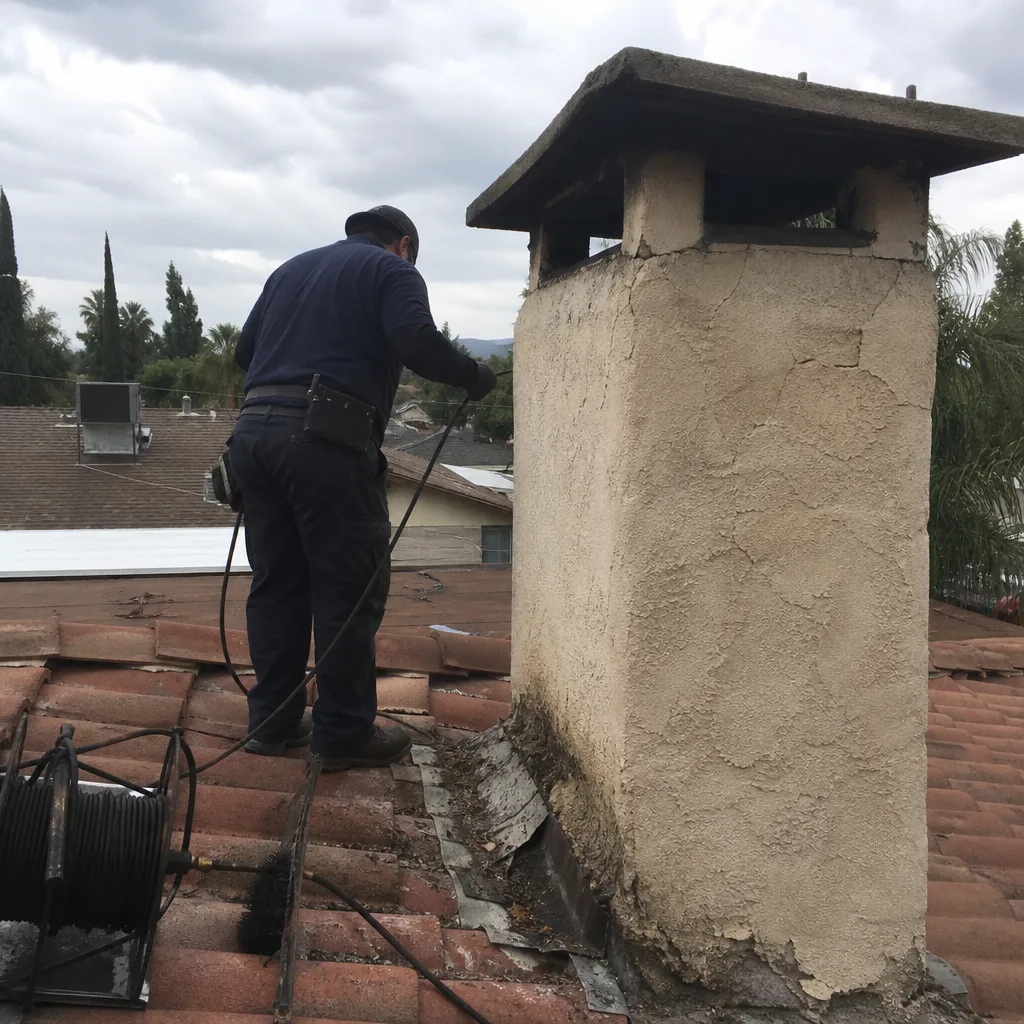 Before
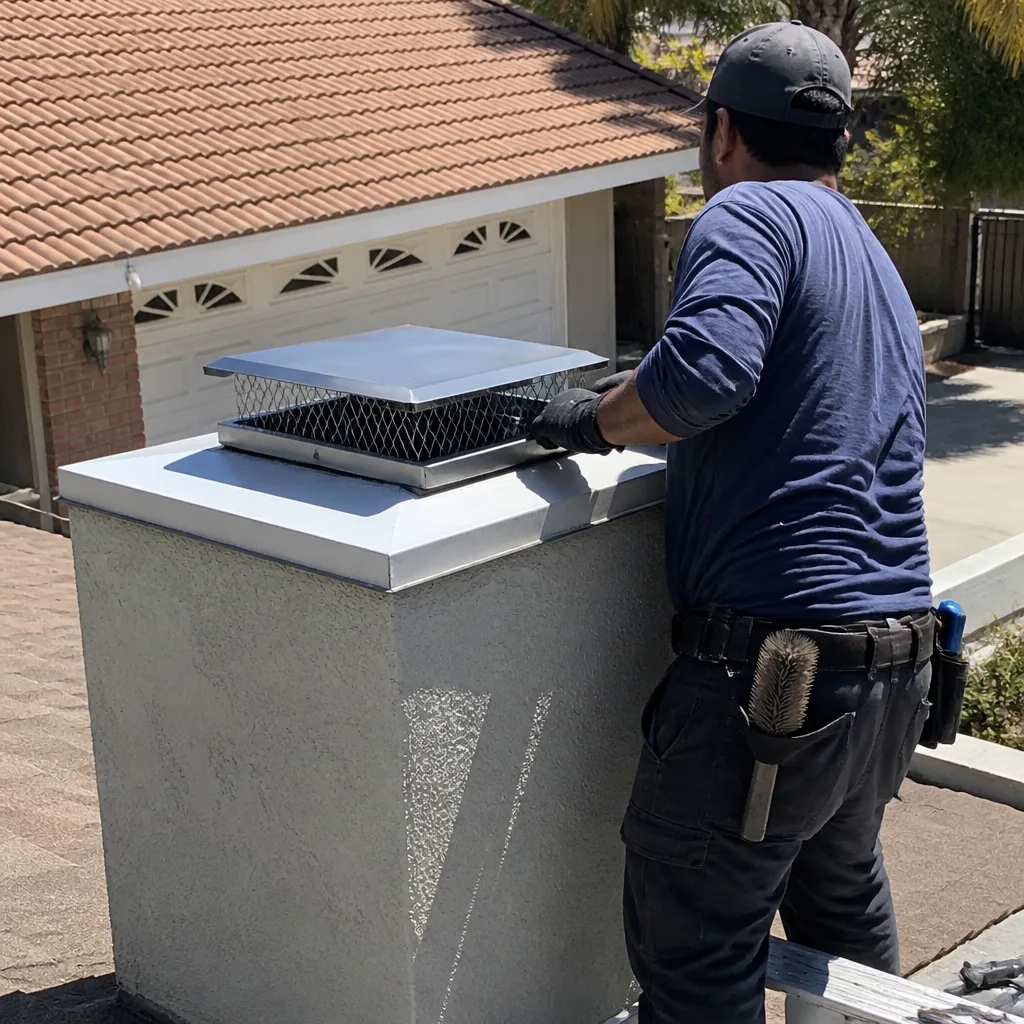 After
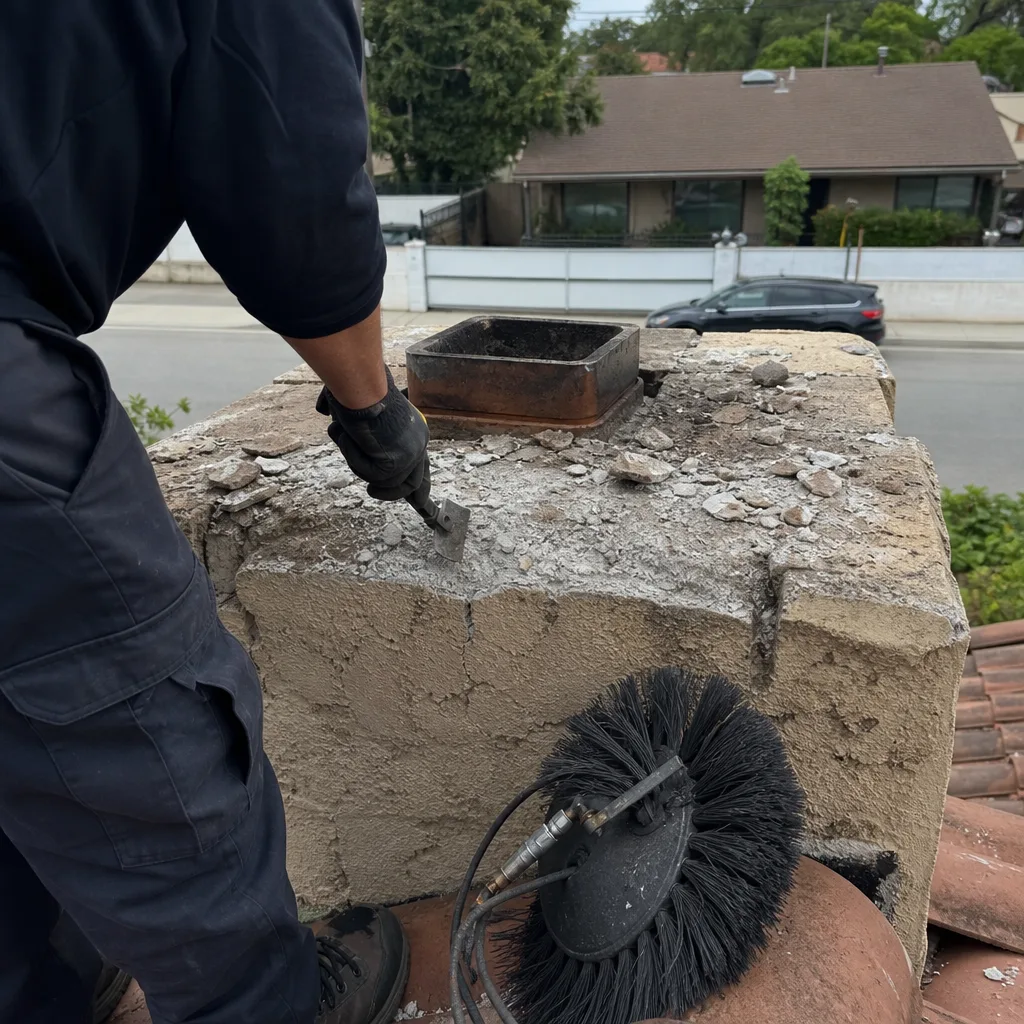 Before
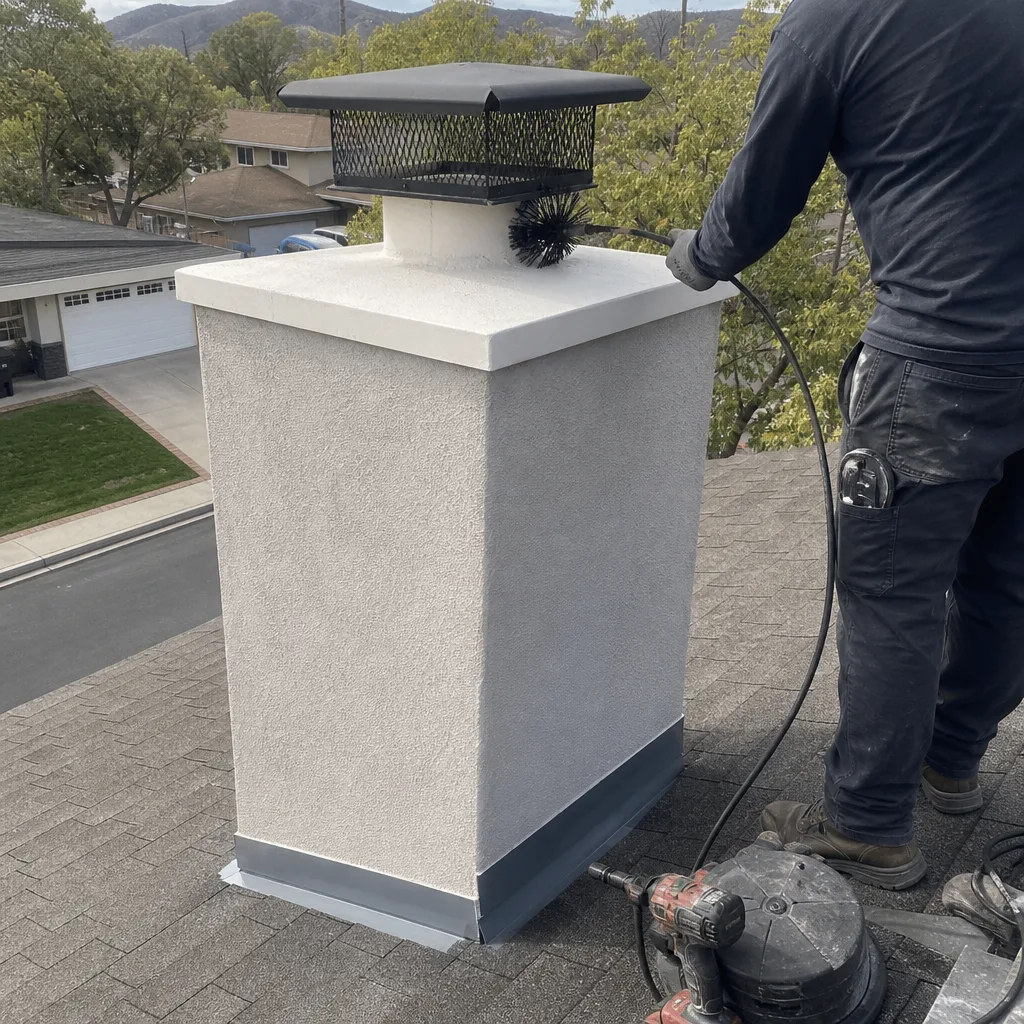 After
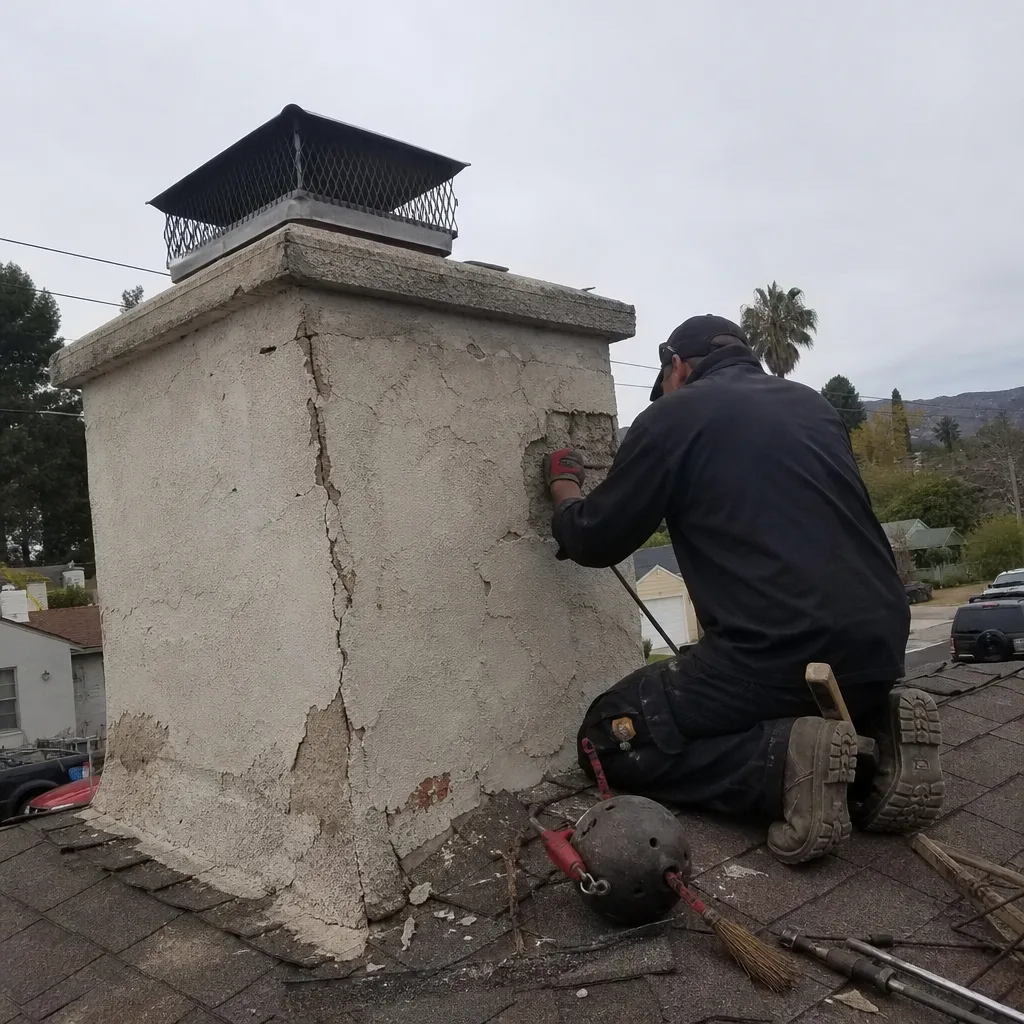 Before
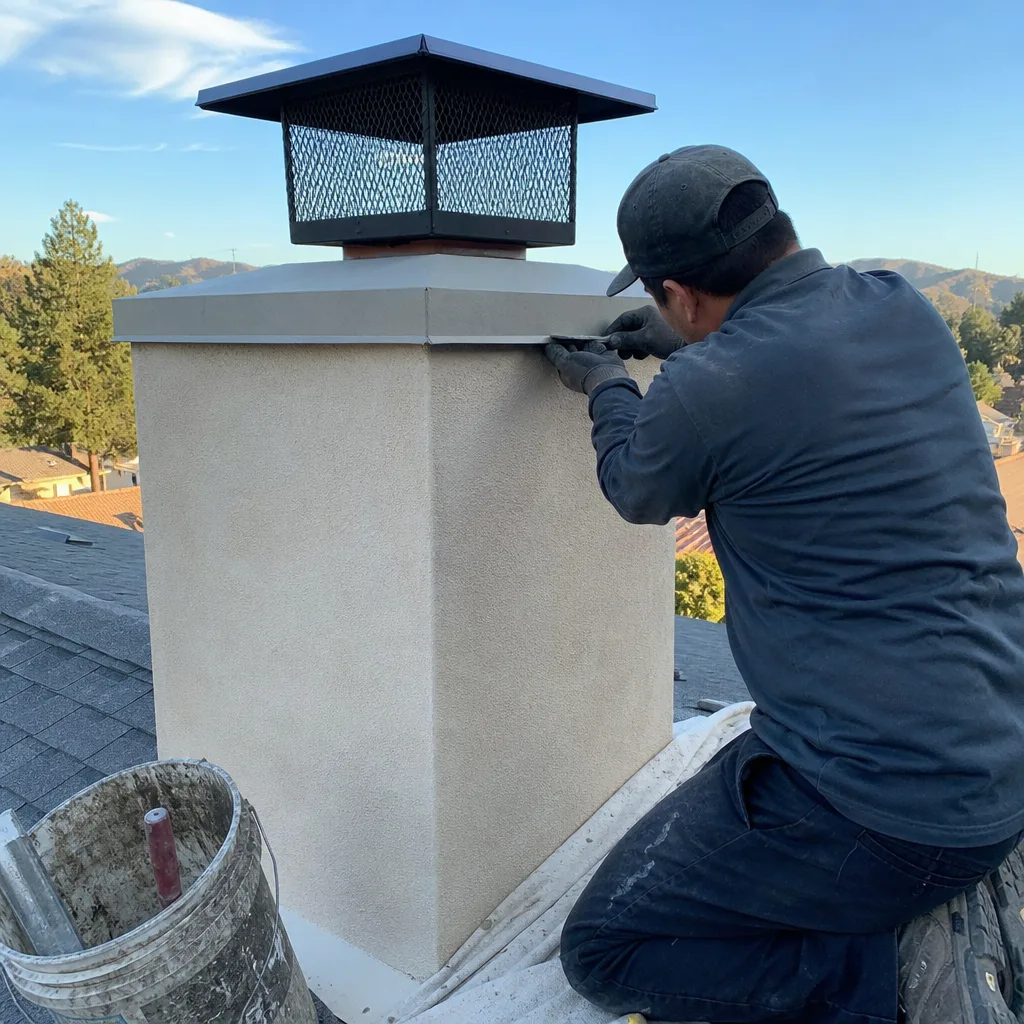 After